How to Use a Yogurt Maker – Complete Guide

euro greekUsing a yogurt maker is simple. The most intimidating part, to beginners especially, is the preparation of the yogurt before putting it in the maker. But once you get the hang of it, you will realize that this is simple as well.

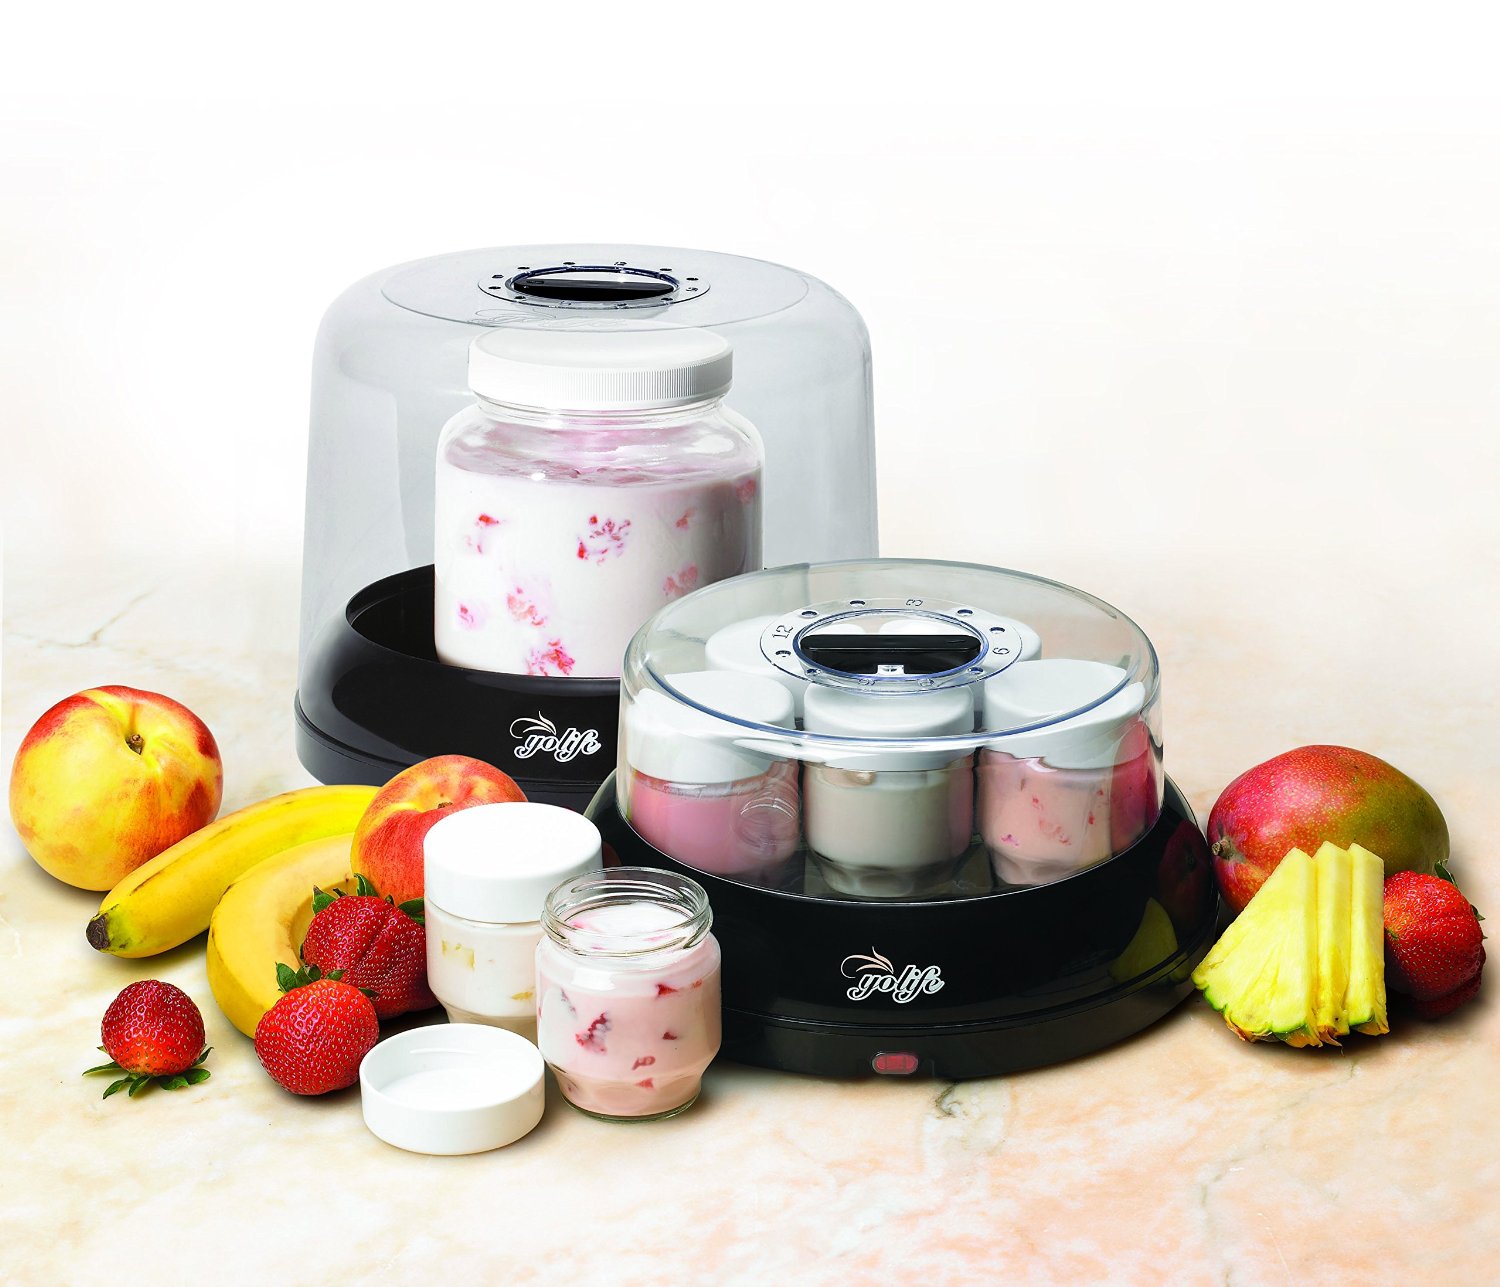
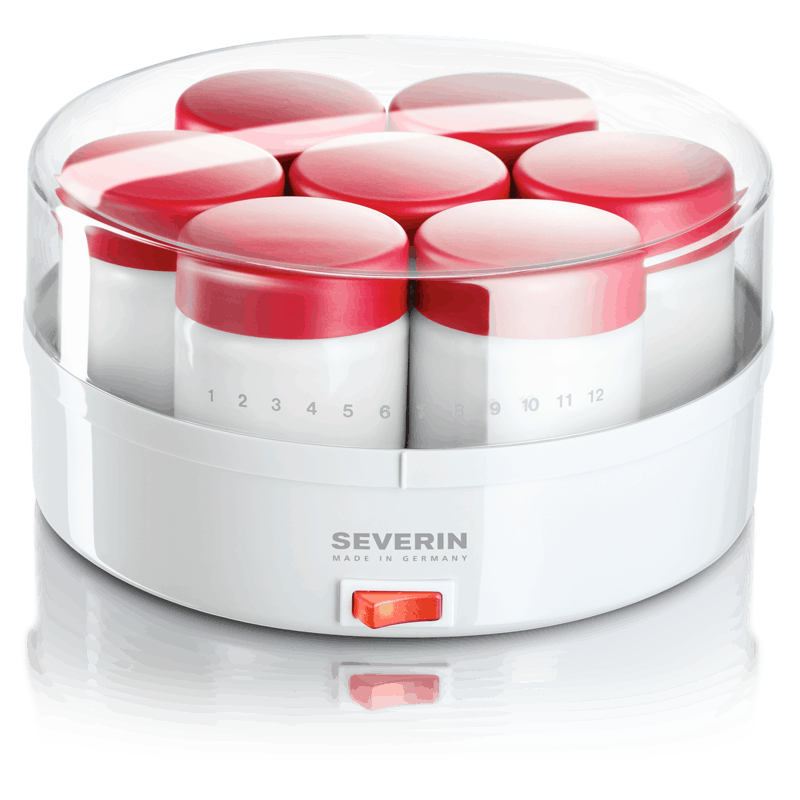
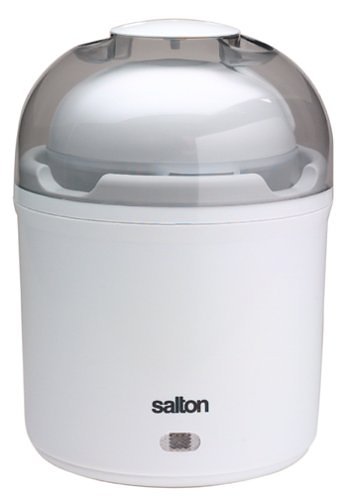
Yogurt makers have a simple task of providing heat to the mixture of milk and culture which in the end makes yogurt. Because of this, they do not come with a ton of features.

You will usually find an on/off switch and buttons for setting the timer. Some will also include a light indicator to let you know the machine is in operation. But do not be surprised to find none of these as models differ.

Using A Maker To Make Yogurt

Here are the steps to follow when making yogurt in a yogurt maker. This is just one recipe, and you can experiment, as well as finding other yogurt recipes people have used to make their own homemade versions. Of course, Greek yogurt and other variations require a slightly different process.

Ingredients

½ cup of yogurt starter

8 cups of milk

1/3 cup of powdered dry milk

Process

1. Get the milk ready by pouring it into a large bowl. If you are using whole milk, add 1/3 cup of powdered milk. However, you can also use half whole and half low-fat milk, it will be just fine.

2. Heat the milk to 190 degrees Fahrenheit. You can use a candy thermometer to measure the temperature. If your yogurt maker came with one, you are welcome to use that as well. The heating process usually takes 20 – 30 minutes.

3. When that is done, cool the milk to 115 degrees Fahrenheit. Use the same thermometer for assurance.  Since this process can take long, it is a good idea to speed it up.

Simply fill up a sink with ice water and put the bowl in. Additionally, you can stir. This will reduce the cooling time tremendously.

4. Once temperature drops to the desired level, add the starter. It has live active bacteria which is needed to make yogurt. Opt for plain yogurt to achieve the best results.

For simplicity, pour some milk into a smaller bowl to mix with the starter. You should stir thoroughly until it is evenly mixed. You can then mix it with the rest of the milk and stir for some seconds.

5. The next thing will be to put your mixture into the jars. This will depend on how many of these you have. I prefer to use one large container because it is easy to clean. Once in the container, close it with the lid.

You can then put the container in the maker and turn it on. If it has a timer, refer to your manual on how to set that up.

The fermentation process can take 6 – 12 hours, the longer the better. You might want to experiment with the time as each will produce different tastes. 

6. When the set time elapses, your milk-starter mixture will have turned into yogurt. But it will not be ready for consumption just yet. You will need to put it in a refrigerator for 2 – 10 hours. After that, you can enjoy it.

So basically, that is how you can use a yogurt maker. Most units come with a recipe book. You can use that if you want some variety. There is a video below which also shows you the steps of how to make Greek Yogurt, something many people have an interest in doing, which has an extra straining process involved.

How to Make Vegan Yogurt in a Yogurt Maker

yolifeSince yogurt is usually made of dairy products, it might not be suitable for vegans. However, there are many yogurt lovers who are vegans, so there must be something they do to be able to enjoy with some delicious yogurt. Well the good news is that there are many ways you can avoid using dairy products and still be able to consume your favourite food. The market is full of vegan yogurts with many different flavours. The only problem with these yogurts is that you can never know if they have really used non-dairy products or they are just promoting them as vegan products. To be one the safe side you might want to try making your own yogurt. This can be easier than you think. It is no different than making regular yogurt, just instead of using regular milk you can use alternative milk sources such as soy milk, coconut milk, almond milk or similar ingredients. So the question is -how to make vegan yogurt in a yogurt maker?

Obviously the first thing you need to do is buy a yogurt maker. There are a number of yogurt makers you can use depending on the available budget and the requirements you have for your new kitchen appliance. Once you find the perfect maker, the rest is easy.

To prepare vegan yogurt you need several ingredients. You need to have alternative milk, thickener, different fruits that you want to add and some culture. Add the culture into the milk and put it into a warm environment for about six to eight hours. The duration of the process depends on the type of yogurt you make. The longer you leave the yogurt in the warm environment, the thicker and tarter it gets. If you believe that the yogurt is thick enough and tart enough you can shorten the process.

The entire procedure is a lot easier if you are using a yogurt maker. If you are planning on experimenting with different flavours you might want to consider buying one that consists of a number of single jars. The best thing about these this of maker is that instead of the jars you can use a bigger bowl and make only one flavour. If you have a little more money to spend then you can choose a maker that has a timer. With this maker all you need to do is put the ingredients inside the maker and set the time needed for fermentation. Then just walk away. After the set time, the maker will automatically shut off. However you should remember taking the yogurt out of the maker. If you want to avoid the possibility of forgetting the yogurt into the maker, then you might consider getting a maker that also acts as a refrigerator and keeps the yogurt in good condition even if you forget to take it out of the maker. Regardless of your choice you would be able to make some good home-made vegan yogurt.

Severin JG3519 Yogurt Maker Review

severinPeople who are into healthy eating, know how helpful it is to consume yogurt on regular basis. Yogurt is full of good bacteria which are beneficial for your digestion and your whole body. However, not every yogurt is good for you, with additives and preservatives to increase shelf lives. The other option is to make your own yogurt and control what goes into it. The second option sounds a lot better, as you can always be sure of the ingredients used to make the yogurt and you will always know the exact date when it was produced. The good news is that there are a number of quality yogurt makers that can turn the making of yogurt into a really fun experience.

Severin JG3519 Yogurt Maker is a practical appliance that will help you make the best yogurt you have ever tried. It is very small so you can easily find a place to store it when not in use. This maker is round and consists of a base and a transparent lid. On the base there is a button to turn on/off the maker. It comes with seven transparent jars with lids that fit perfectly into the base. The use of separate jars allows you to make different tastes all at the same time. If you want to make only one taste, then instead of the jars you can use one bigger bowl.

The duration of the process depends on the ingredients you use. If you are using milk then you should pre heat it to 90°C and then leave it to cool to around 30°C before you put it into the jars. Add one or two teaspoons of natural yogurt, place the jars into the maker and turn it on. After 5 to 6 hours your yogurt will be ready. If you decide to use cold milk directly out of the refrigerator then you would need to leave the jars inside the maker for 8 to 9 hours. Another option would be for you to use dry culture which can also be delicious. Regardless of your choice make sure to carefully read the provided instructions. Once the process of making the yogurt is finished remove the jars and put them in the refrigerator to avoid ruining the taste of the yogurt. It is recommended to drink the yogurt as soon as possible, so make sure to plan ahead and possibly make a smaller quantity of yogurt.   

The yogurt maker can be easily cleaned as the jars can be washed in the dishwasher. In addition you can buy extra jars since they are very good for storing things.

So what are you waiting for? You are a step away from having your own yogurt maker that will give you the opportunity to make delicious yogurt in the comfort of your home for very affordable price.

Salton YM9 Yogurt Maker Review and Features

salton ym9Yogurt is considered to be one of the healthiest foods since it is beneficial for your entire body. The main advantage of the yogurt is that it contains a lot of good bacteria that can help you balance your organism and keep you in great shape. However, you should always pay attention to the quality of the yogurt and make sure you always consume it when it’s fresh. The only way you can be sure that the yogurt was made according to the highest standards, using quality ingredients is if you make it by yourself. Luckily for you, today there are many yogurt makers available on the market that can help you make a delicious yogurt in the comfort of your home. One of those yogurt makers is the Salton ym9 yogurt maker, and we have put together a full and detailed review for you to run the rule over this appliance.

Full Review and Features

The Salton ym9 yogurt maker is a round appliance that consists of several parts. It has a base, internal container with a lid, and one additional lid for the maker. On the bottom of the base it has a special place for storing the power cord.

It has a really high capacity and is capable of making up to 1 quart of quality yogurt in a matter of hours, enough to feed a lot of people and great if you have a large family. All you need to do is prepare the ingredients that you would like to use for your yogurt. You can use milk and natural yogurt, dry culture or other forms of yogurt, mix and match different ingredients and create a number of unique tastes. There are a lot of recipes you can use, or you can simply make your own. You will never know how creative you are until you try.

Once you have all the ingredients ready put everything in the container, close the lid, put the container into the base, close the second lid and turn on the maker. Your work is done, and you just have to wait for the process to finish. The time required to make the yogurt will depend on the ingredients you use and the type of yogurt you make. Usually the time frame is between 6 and 12 hours.

Once your yogurt is ready you can serve it to your friends and family. It is always better to serve it when it is fresh, as that is when it has the highest quantity of nutritious ingredients. You can put the leftovers in the fridge without removing the yogurt from the internal container, as it is freezer-safe. However, it is not recommended that you keep the yogurt long after it was made, as it might be counter-productive. 

When you finish using the maker, clean it well. The internal container and its lid can be cleaned with soap and hot water, whereas the base should only be wiped with warm cloth.

Conclusion

Hopefully this article has helped you make up your mind whether you want this convenient yogurt maker to become part of your family of kitchen appliances. We have reviewed many of the best yogurt makers here on the site, but this is up there with the very top models you can get, and is deserving of its recognition as one of them.